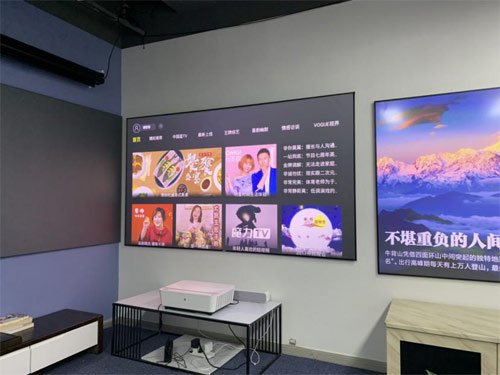
Ambient-light-rejecting (ALR) projection screens that picture contrast in spaces that can’t be completely darkened continue to grow in popularity thanks to recent advances in performance and declining prices.
The use of sophisticated multilayered materials has given rise to a new generation of ALR screens capable of producing a remarkably high-contrast image when paired with a suitably bright projector. Problem is, you have to know how to properly position the projector and the screen to achieve an image that “pops” that way it’s supposed to. That’s not to say the presentation will be awful in a less-than-perfect setup, but it won’t be optimal either.
Ohyes Screens’ addresses this potential pitfall in a new video offering tips on how to maximize image performance in ALR projection setups — or how to find the sweet spot. The video uses PET Crystal material as an example but rest assured that these guidelines apply to any ALR screen.

Here are a handful of tips for achieving ideal ALR performance but be sure to watch the video toward the bottom of this post for full detail
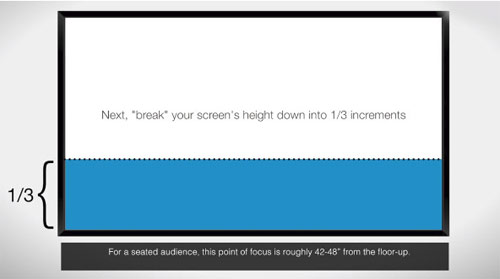
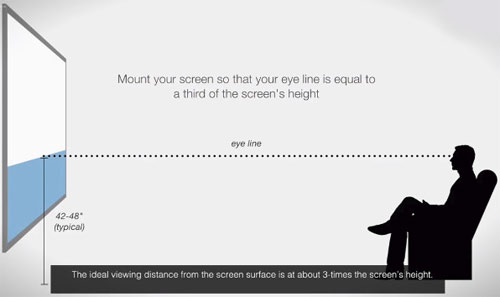
1.Make sure the viewer’s seated line of sight is about one third of the way up from the bottom of the screen.

2.The ideal viewing distance from the screen is about three times the screen height.

3.Make sure the projector is angled so it projects into the viewer’s field of vision, while off-axis light is diverted away. To hit this “sweet spot,” a ceiling-mounted projector will typically align with the top of the screen and throw within a 30-degree angle of incidence to the screen’s center. If the projector is placed too high, the picture will appear dull.
4.Light from a table-mounted projector should align just over the viewer’s head (when seated) to ensure the angle of incidence to the screen’s center is within 30 degrees. In this case, if the projector is too low, the picture will appear dull.
Following these few steps will help ensure the best possible picture quality in everyday living spaces that have ambient light.


