1
Find a good wall space. Before you can get started building your projector screen you will need to locate a space in your home that will be best suited for it. This space should be ideal for your projector and have plenty of room for the screen to hang an appropriate distance from your projector.
Make sure you have a wall with enough empty space to accommodate your finished screen.
You should have enough space in the room to allow your projector the right amount of distance from the screen.
All projector models will have different requirements.
2
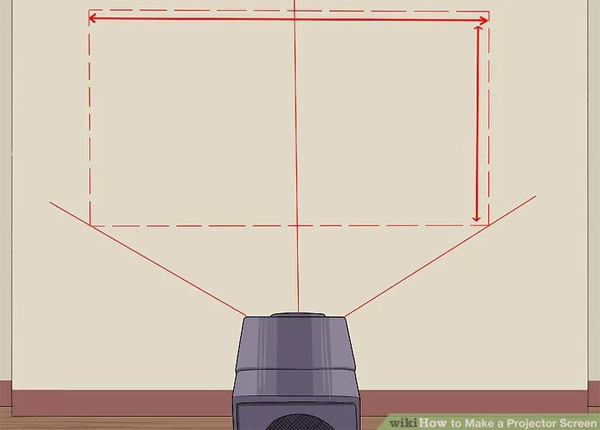
Measure your projector image. Once you’ve found the ideal space in your home for your projector and projector screen you will want to measure the actual size of the image from your projector. Measuring the image size that you plan on using will allow you to determine the final size of your projector screen.
Turn your projector on and have it set to its test image.
Measure the size of the image where you will be using your screen.
Record both the width and the length of the screen.
3
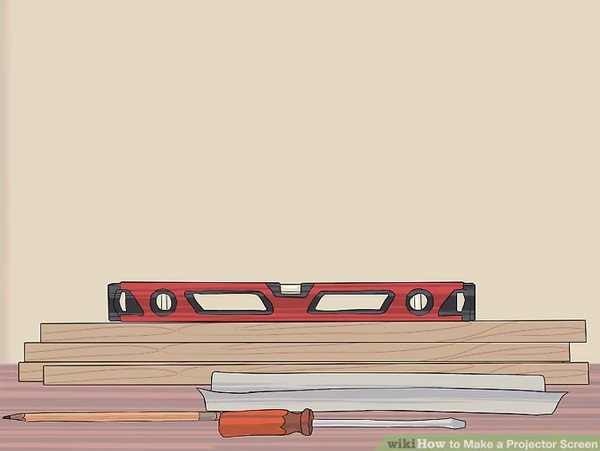
Gather your materials and tools. Having measured the image size that your projector will be using, you are ready to gather your materials for the screen. The size you are building your screen will vary depending on space and projector model. However, you will need the following basic materials:
Four pine boards for the frame. Two will be longer and will run horizontally and two shorter boards will be used for the vertical sides of the frame.
Material for the screen itself. 53” seamless white paper or blackout cloth can be good choices.
Make sure to have at least an extra 5” of your screen material so that you can attach it to the back of your frame.
Screws and a screwdriver.
Flat corner braces.
Three or four picture hangers.
A level and pencil to mark guidelines.
4
Build the frame. The frame will be the base upon which your projector screen will be fixed. Creating a square and level frame will help keep your screen flat, smooth, and optimized for using your projector on. Take the following steps to create the perfect frame:
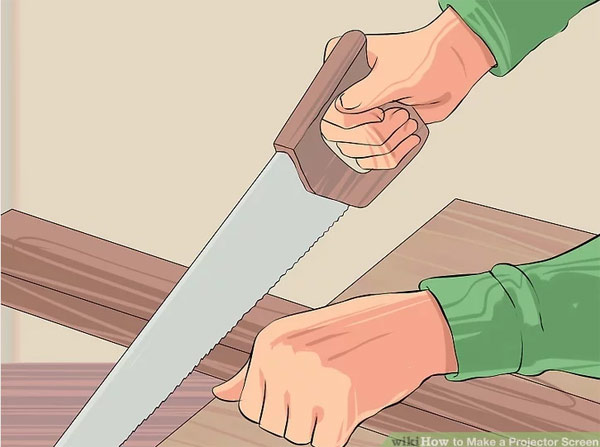
Cut your boards with a handsaw to the length you need if they are too long.
Lay the frame out.
Place a corner brace on each corner where the boards meets.
Sink your screws into the wood through the corner braces.Check t see how stable your frame is. You can add additional.
5
Attach your screen. Once your frame has been built you can affix your projection screen material on and over it. Make sure you work slowly and carefully when attaching the screen to ensure that it properly covers the frame and is free from any wrinkles or dips that could affect picture quality.
Lay your screen down flat on the floor.
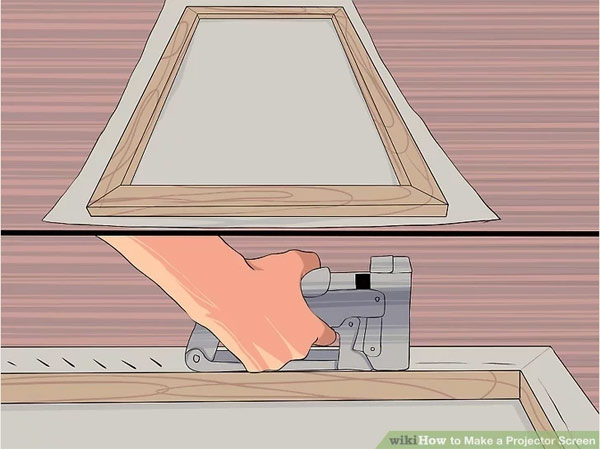
Place your frame on top of your screen and center it.
Pull the extra screen material up and over the edge of the frame.
Start stapling the screen to the frame. Space your staples about ten inches apart.
Keep the screen tight as you add staples, removing wrinkles as you go.
Go around again and place staples every five inches.
6
Add the finishing touches. Although your screen is technically ready to be used you will want to add a few more elements to it. These last few additions will allow you to easily hang it on a wall and can help make the edges of the screen look clean and professional.
Screw in regular picture hangers evenly along the top horizontal beam of your frame.
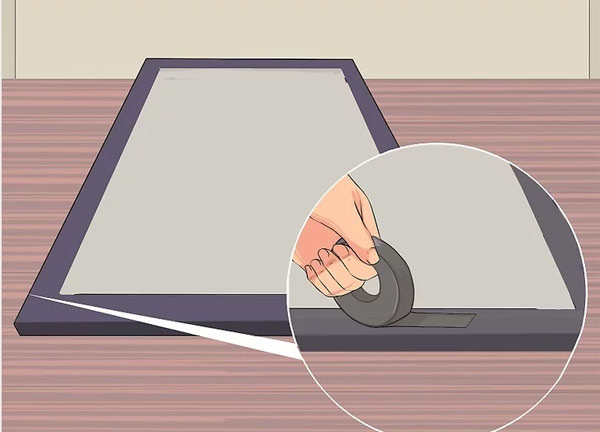
You can try adding black artists tape to the edges of your screen to give it a nice stylistic finish.
Adding a dark border can also help improve picture quality by cutting down on light reflection.
7
Draw your guidelines. Before you can hang your projector screen you will need to make sure you are hanging it in the right place. Once you hang your projector screen it will be difficult to reposition, so take your time and be exact.
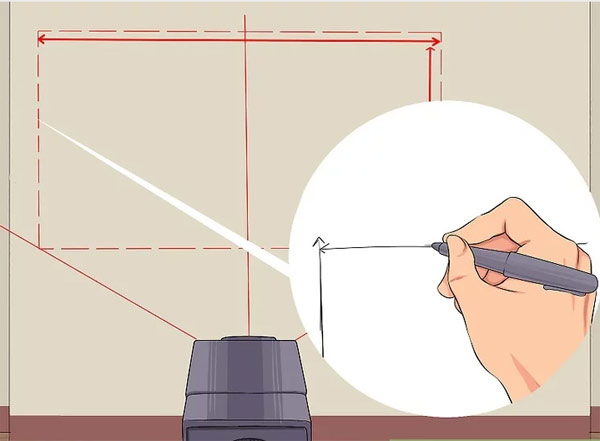
Turn your projectors test image on.
Use a pencil to lightly outline where the image is being projected.
Use this guideline to help you hang your projector screen in just the right place.
8
Mount on a wall. Now that your screen has been attached to your frame it’s time to hang the entire screen on a wall. Place your screen in the exact position that you took your original screen measurements from to ensure that the projected image will fit. Once your screen is hung on the wall it’s time to sit back and enjoy your favorite films on it.[13]
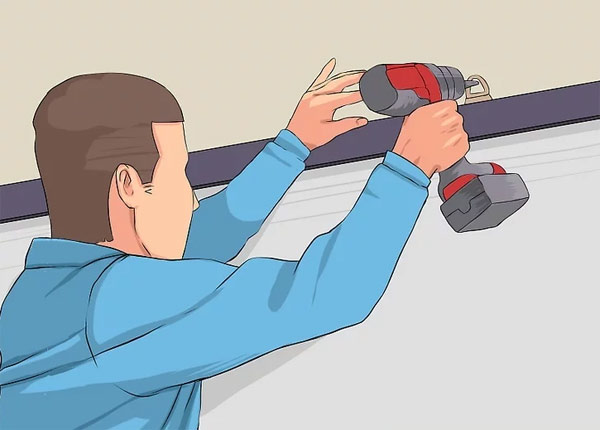
Use a stud finder to locate stable places on your wall to install the hanger screws and mark them with a pencil.
Draw a level line between the points where you will be adding the hanger screws.
Install the hanger screws using a screwdriver.
Hang the projector screen and enjoy.


